Simple Handmade Books
Create a book to be a sketchbook, an art journal, a comic book, a graphic novel, a place for noting your ideas, pages for experimenting with art materials and techniques, or anything you can imagine.
Simple home-made books:
Fold a few pieces of paper in half and attach them together. Here are a few book attachment ideas:
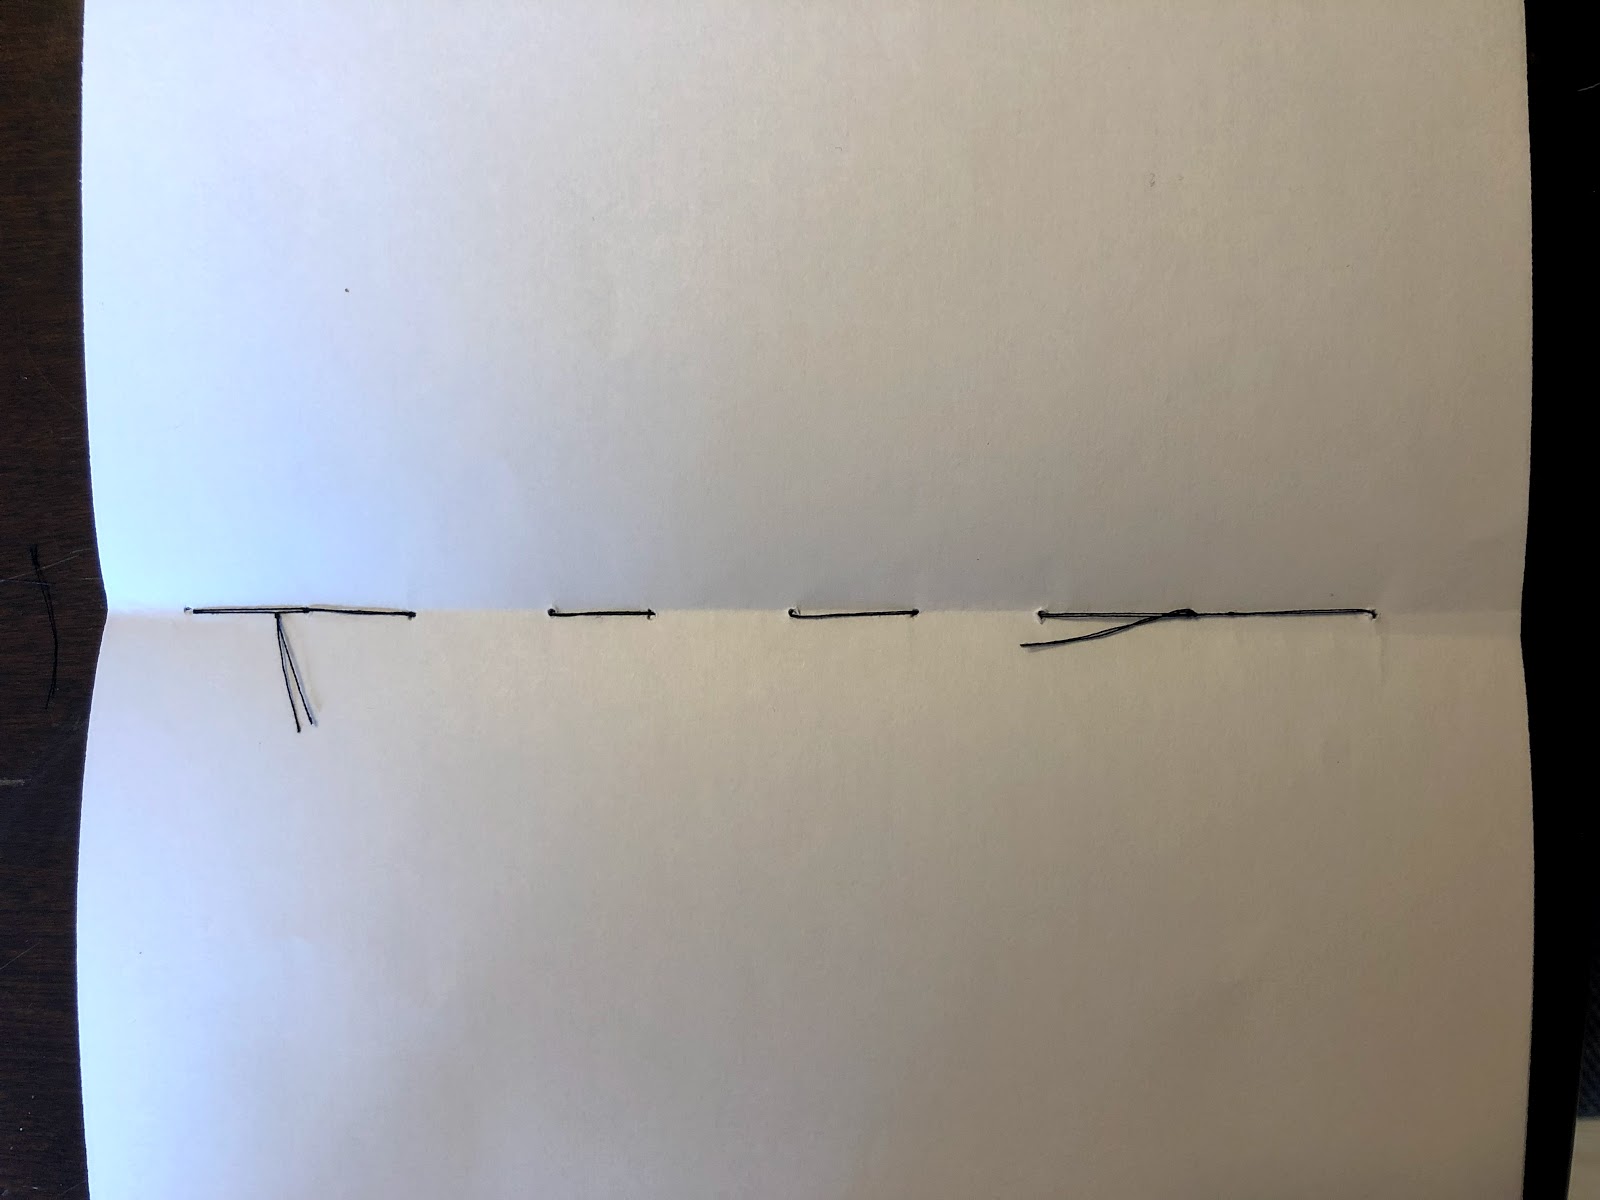
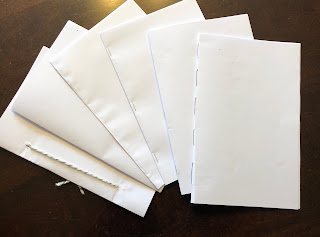 Pictured (left to right): Punched (2 holes and tie with yarn), Stapled (in the middle), Glued, Stapled (near the edge), Taped, and Stitched.

 I decided to use a paint brush to smear the glue before I pressed on the next page.
 Line up a folded piece of paper. Press into place. Repeat for each page.
 Once the book is complete, fold in half and press along the edge. Let dry.
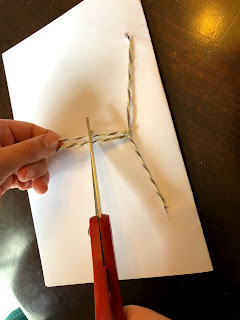
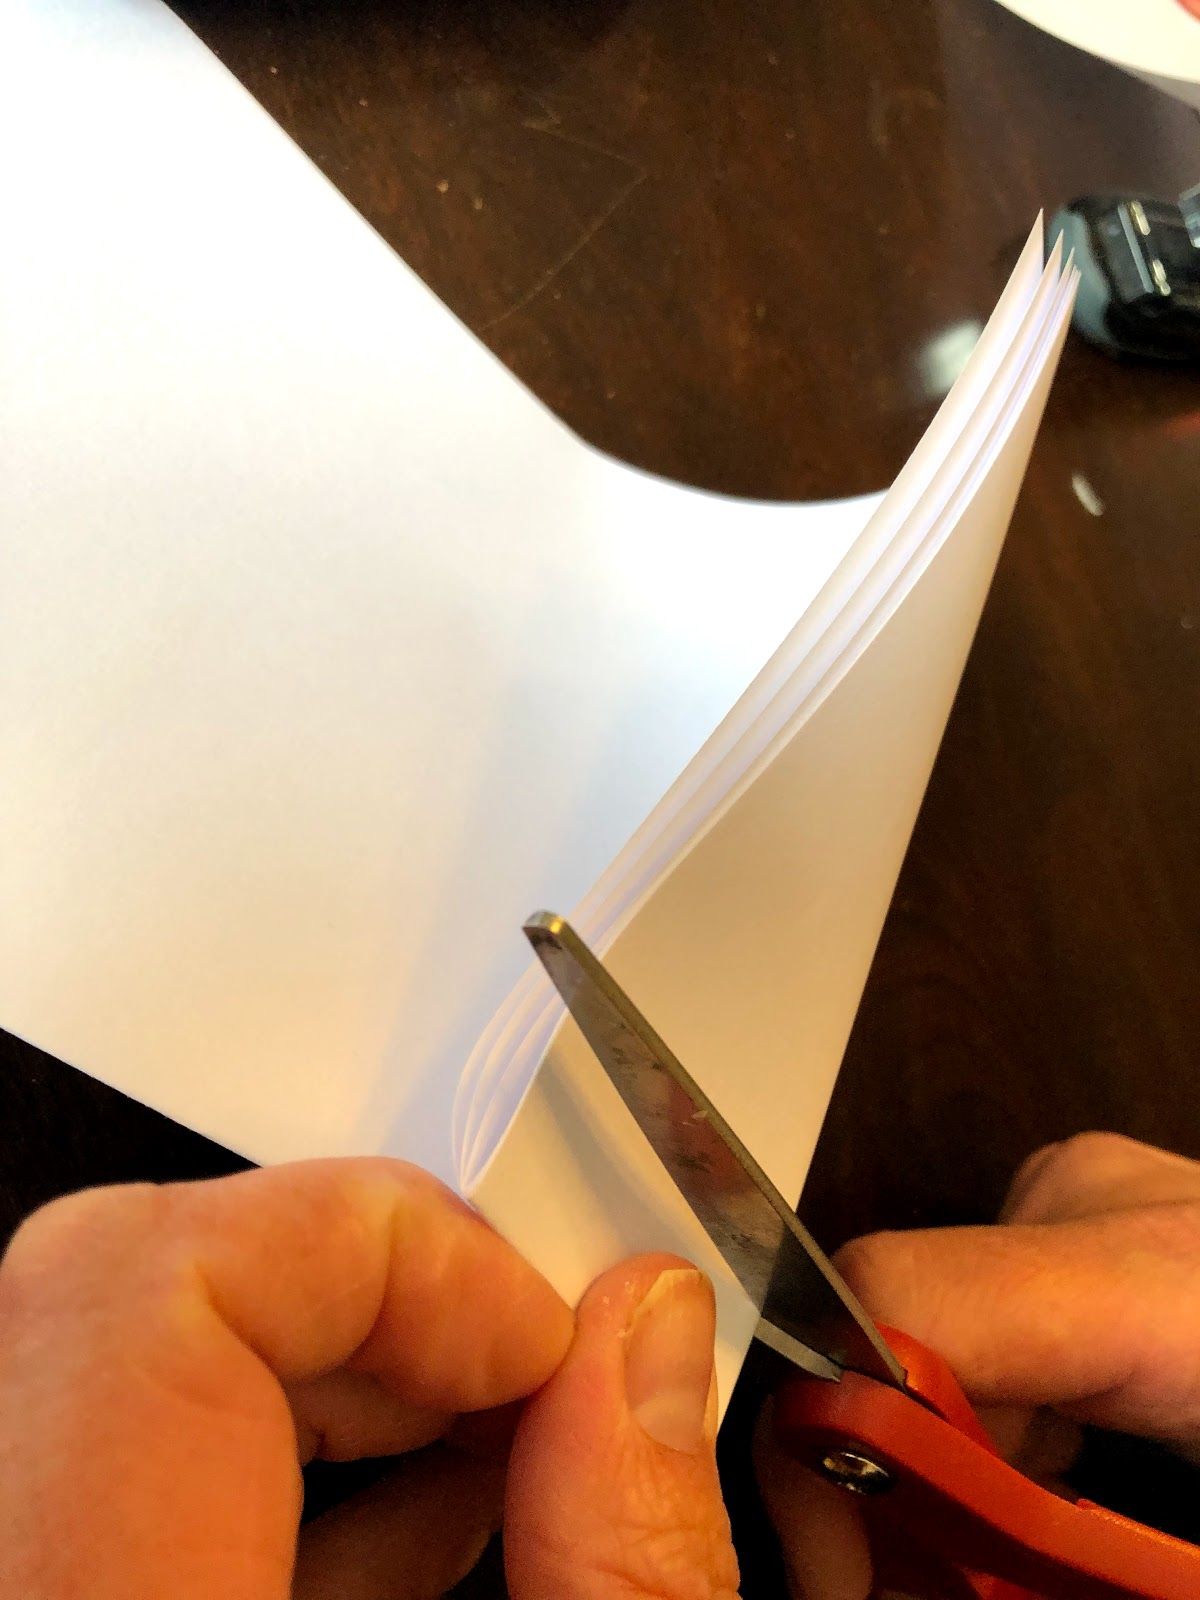
 I folded a section near the top and cut about 1" away from the fold and made a small slice. The "inside" of the scissors cuts through more layers of paper better than the tip.
 Carefully use scissors to open the slice a little.
 Cut yarn, string, or ribbon a little longer than the book.
 Push the yarn through the hole.

 Repeat so the yarn is through both holes.
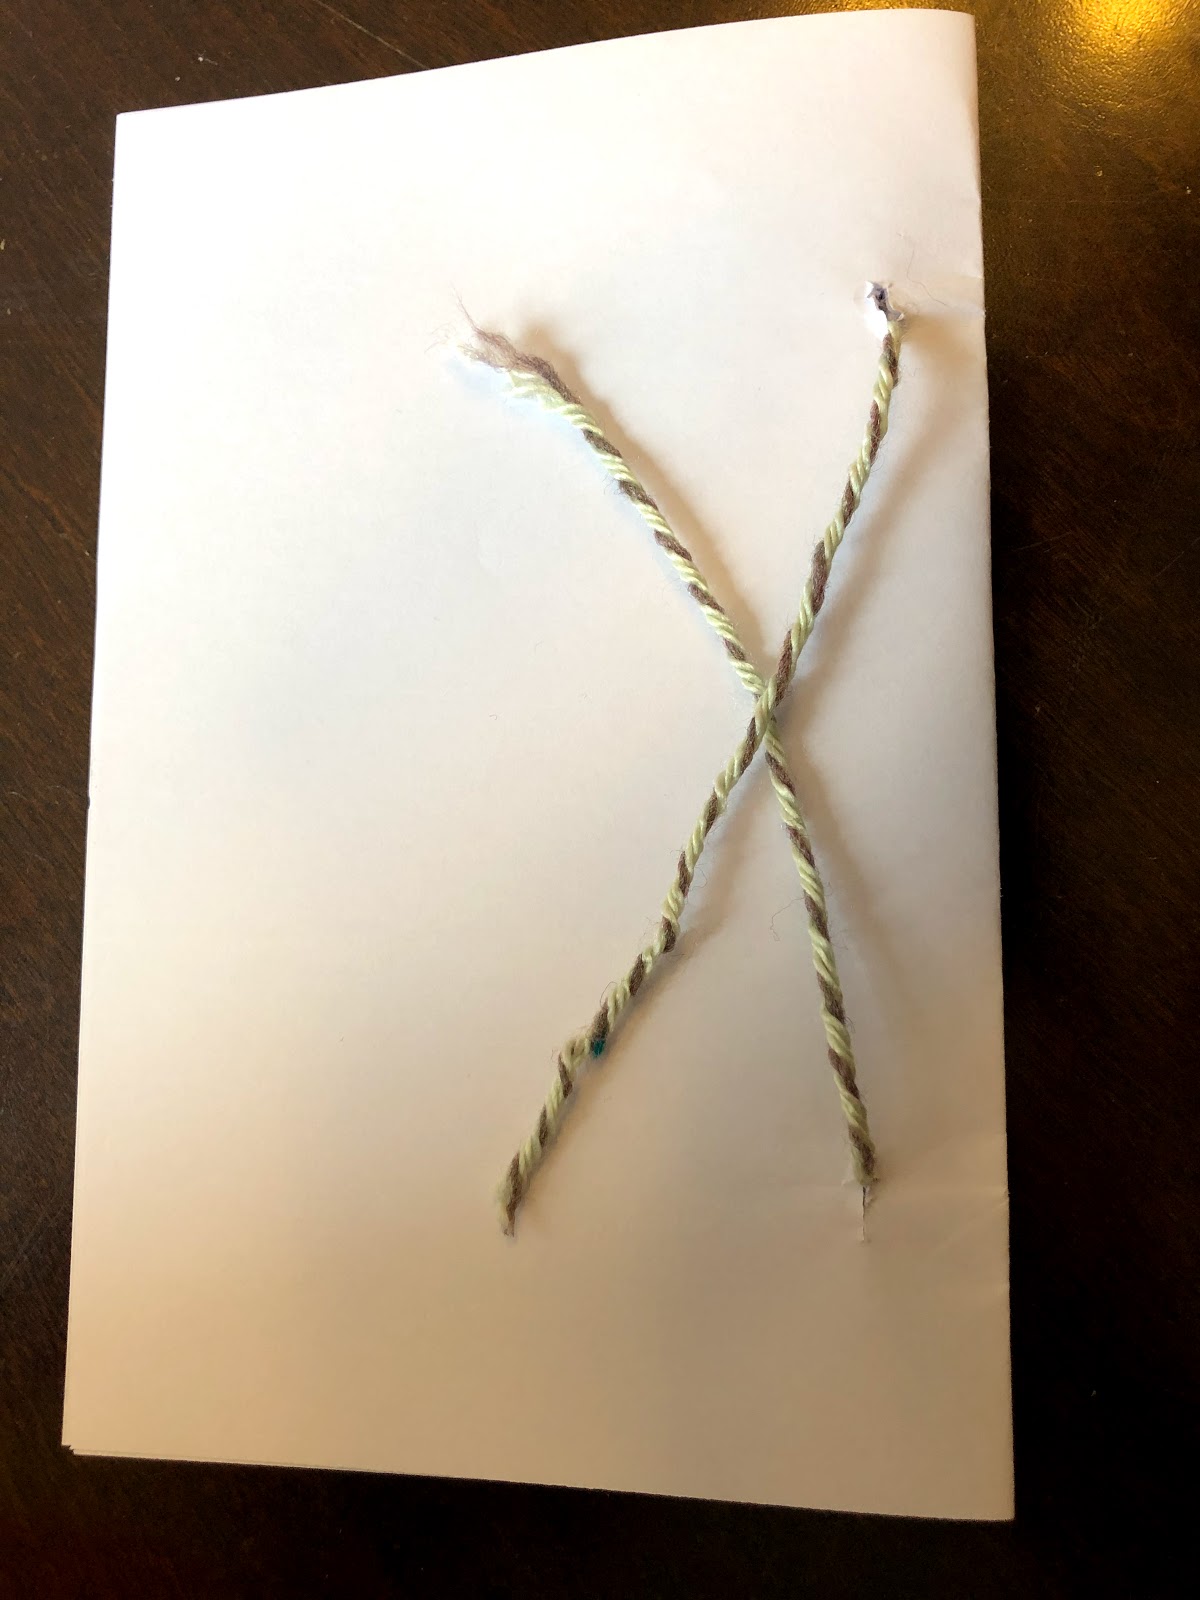
 Tie the yarn.

 Tie in a double knot.
 Ask someone hold their finger on the first knot while you tie. This is very helpful.
 Pull tight.
 Trim the ends. Leave about 1" on both pieces of yarn.
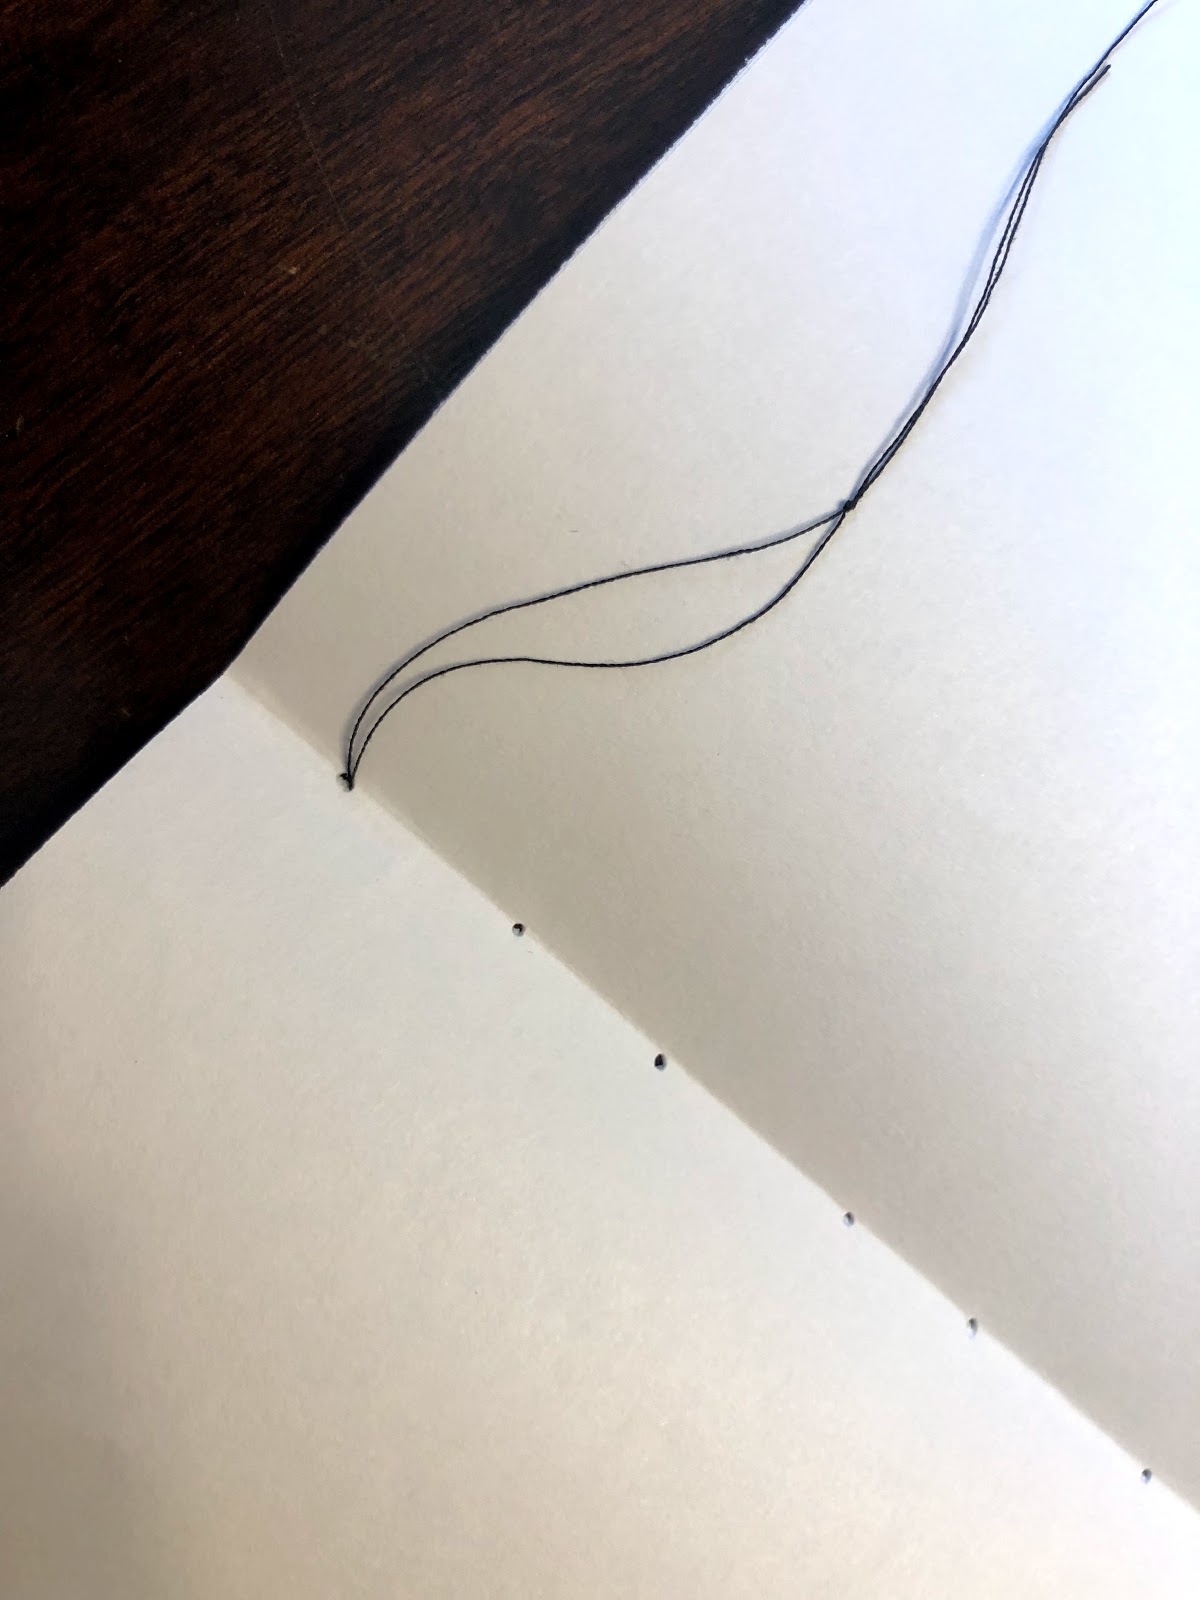
 Fold all the pages you want to have in your book. Line them up. Use a binder clip or paper clips to hold the pages together. Use a push pin to poke a few holes through the crease of the pages. I used a cutting board under my paper to protect the table.
 Be sure to pull the paper or wiggle the push pin (or thumb tac) to make sure the holes is big enough for the needle to fit through.
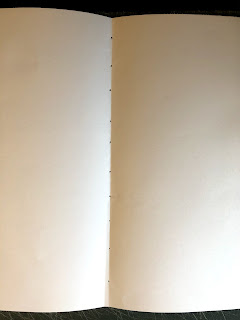 I spaced my holes about 1/2" apart. I made 10 holes. The number of holes doesn't really matter. However, it is easier to tie the knots on the inside of the book if you make an even number of holes.
 Cut the thread and follow the directions on the image below for "Threading a Needle".

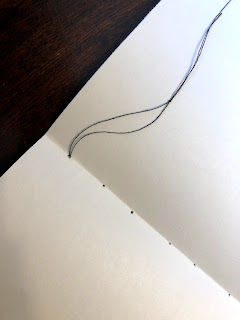 Start on the inside, pull the needle through but leave a long tail.
 Carefully pull the needle and thread through the next stitch.
 Put the needle back through the space between the two threads under the knot. This will secure your thread. (Note: It is difficult to make a knot big enough to not slip through the pieces of paper. The technique of going back through the opening will secure your thread).
 Then pull so it is tight but not too tight that it would tear the pages.
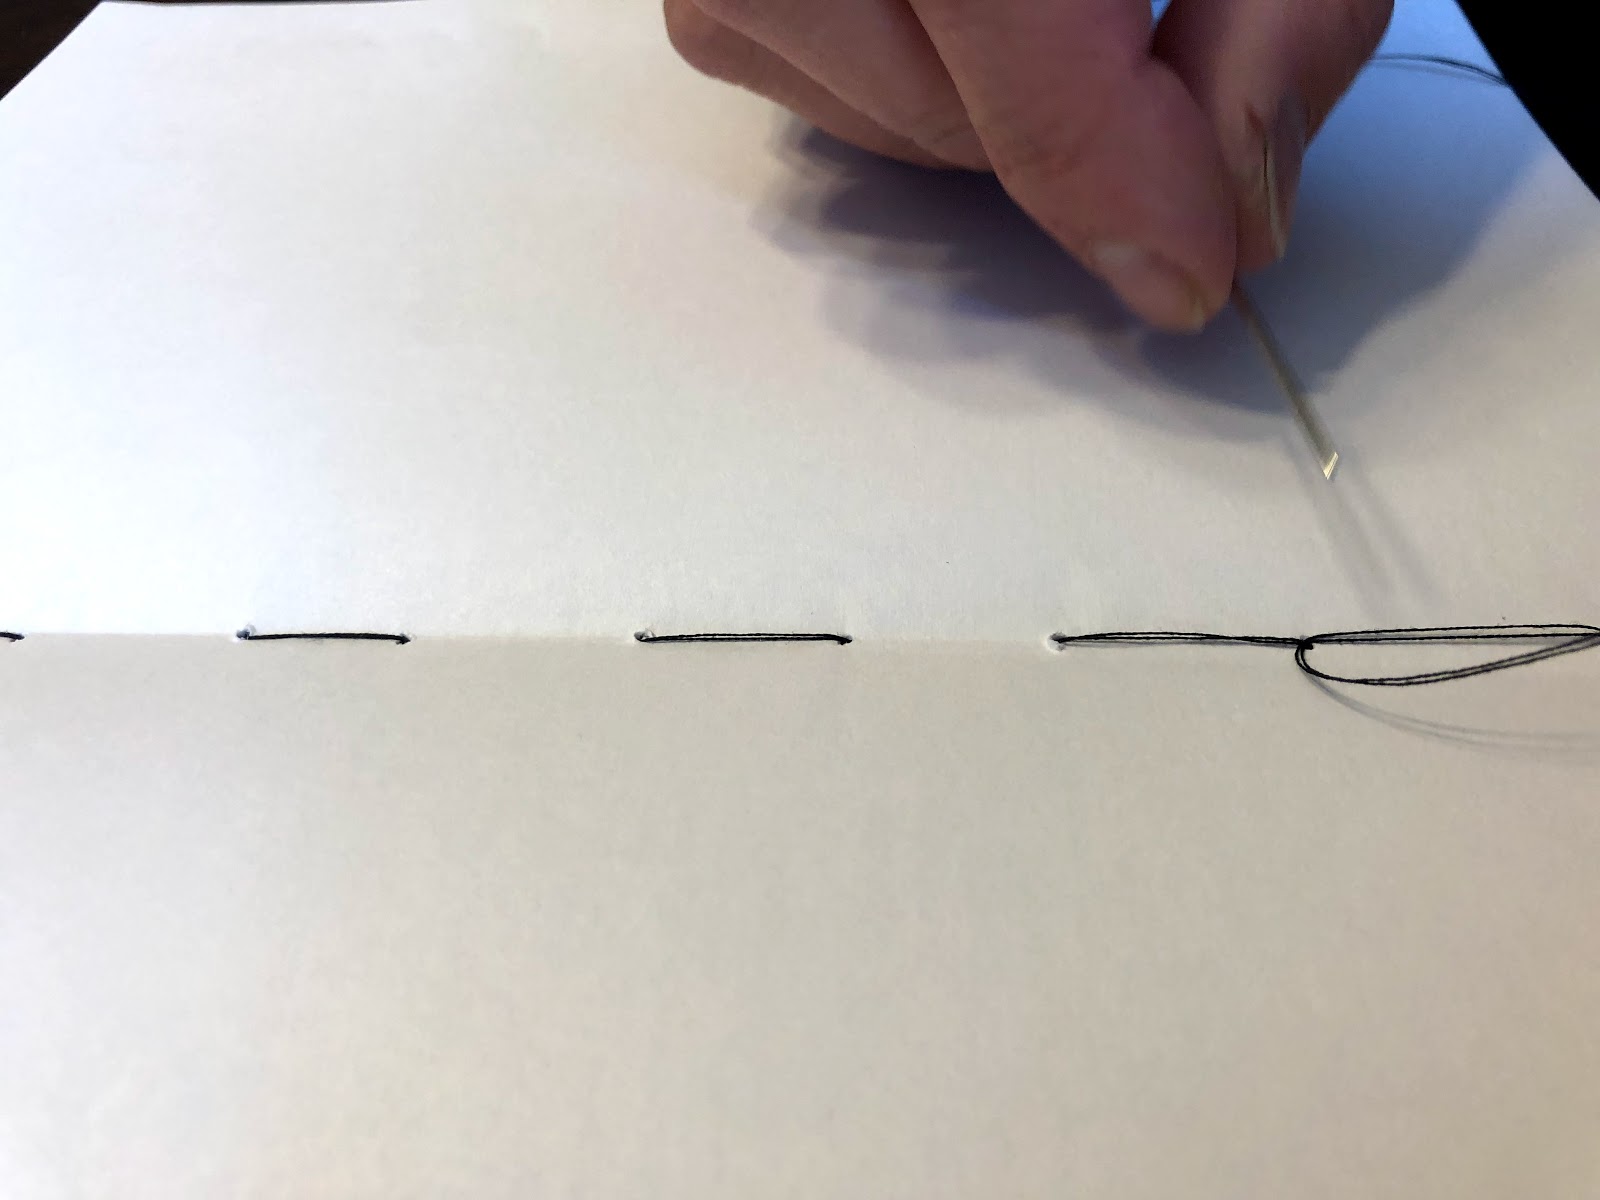
 Continue stitching. Up one hole, down the next, until you finish stitching.


 Push your needle under the last full stitch. Pull through.


 Then knot the thread using a double knot.
 Place your finger to hold the thread in place and pull it tight.
 Trim the ends (leave about 1- 1.5").


Simple home-made books:
Fold a few pieces of paper in half and attach them together. Here are a few book attachment ideas:

- Glued: Glue pages together. I recommend using a very thin layer of glue. Let journal dry.


- Punched: Punch 2 holes (or carefully cut and poke through the paper). Then tie with string, yarn, or ribbon.


- Stitched: Sew pages together. This is my personal favorite!


- Stapled: Fold a few pieces of paper in half and staple pages together (near the edge).

- Stapled: Staple pages together in the middle. You will need to fold the back pages in half, but the creases will come out as you work or they can become part of the art on those pages.


Back

Front

Edge
- Taped: Tape pages together.


First page.

Second page. Repeat until complete.


Comments
Post a Comment